
Direct answer
What should you do?
Good real-time control begins with restraint. Hold a stable formation until movement creates a specific advantage, then move the smallest number of units needed, preserve key heroes, and commit skills into a readable control or damage window.
Official video
See this decision in the game
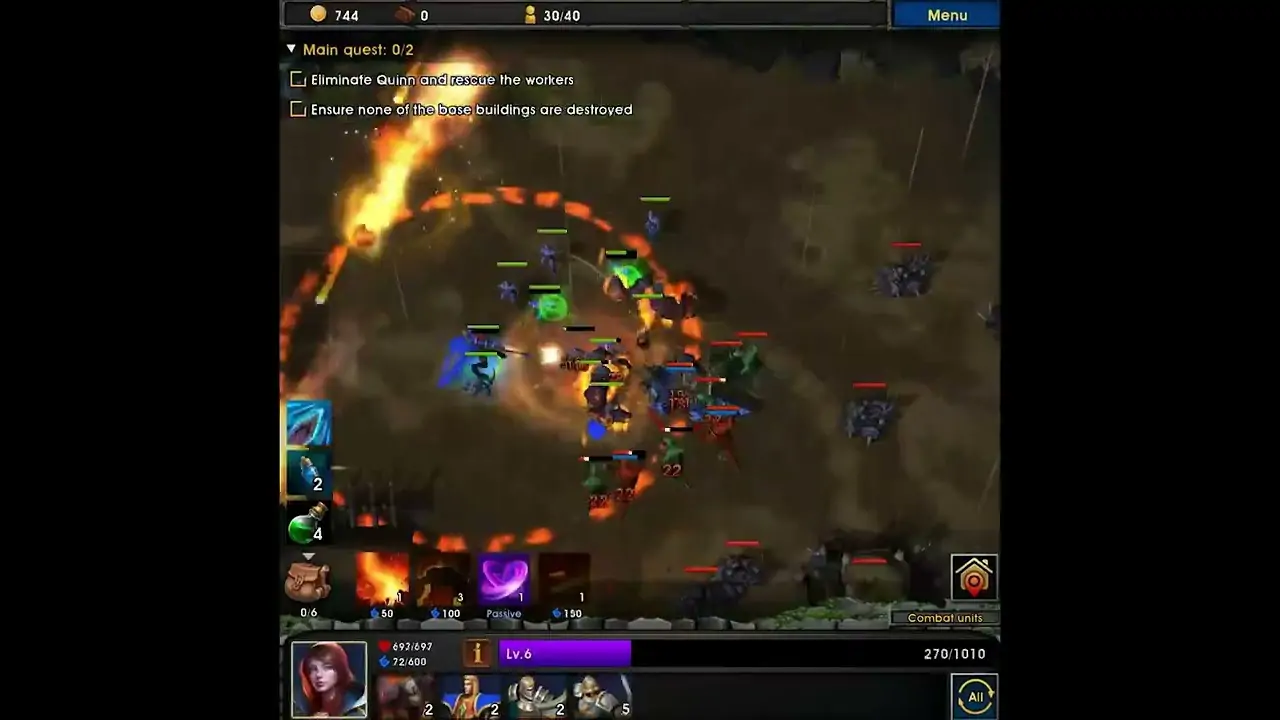 31 seconds
Alliance at War Real-Time RTS Mode Video
See the official Alliance at War RTS mode clip, then learn how movement, target choice, formation stability, and skill timing work together.
Watch the official video →Key takeaways
- Move for a target, angle, or survival reason—not simply because control is available.
- Split only when both groups still have a job and support.
- Save important hero skills for a window where the target can be controlled or finished.
1. Read the field before issuing the first move
Identify the enemy front line, vulnerable targets, likely control threats, and the route your troops will take. The opening formation should protect important heroes while keeping movement options available.
A short pause can reveal enemy commitment. Once a threat chooses a target, a flank or controlled retreat becomes more meaningful than immediate motion.
- Keep the front line connected.
- Do not expose support heroes to create a faster angle.
- Choose the target that changes the battle, not always the closest target.
2. Use split, flank, and kite as separate tools
Splitting creates two jobs: one group holds or distracts while another reaches a target. Flanking changes the attack angle. Kiting trades space and time to reduce pressure. They are related, but using the wrong tool can isolate troops.
Move the smallest group that can complete the task. If every unit leaves formation, you lose the protection and target control that made the move useful.
- Split only with a clear regroup or finish condition.
- Flank after enemy attention is committed.
- Kite toward safe space, not into another threat.
3. Create a skill sequence
Hero skills are most reliable when they form a sequence. Use control to create time, damage to exploit it, and recovery or protection before the formation breaks. Avoid pressing every skill as soon as it becomes available.
After the battle, review the moment a skill changed the field. If it landed on the wrong target or after a unit was defeated, adjust position or timing before changing the whole team.
- Name the skill that begins the sequence.
- Hold the follow-up until the target is committed.
- Preserve one response for an unexpected threat when possible.
Try this decision
A practical exercise
An exposed damage unit is being pressured while the rest of the army is elsewhere. Use a repeatable practice encounter to learn selection and movement.
- Enter an available mode with manual troop control and identify how individual units and groups are selected.
- Move the exposed unit toward support, then select a target the formation can reach together.
- Use an available ability deliberately and observe the result before issuing another command.
Check the result: Can you explain which selection, movement or timing decision changed the fight? Repeat in a low-pressure mode before applying it to an alliance objective.
Illustrative scenario added September 9, 2026. This is a planning exercise, not a recorded test result or a new live-game rule. The version scope above still applies.
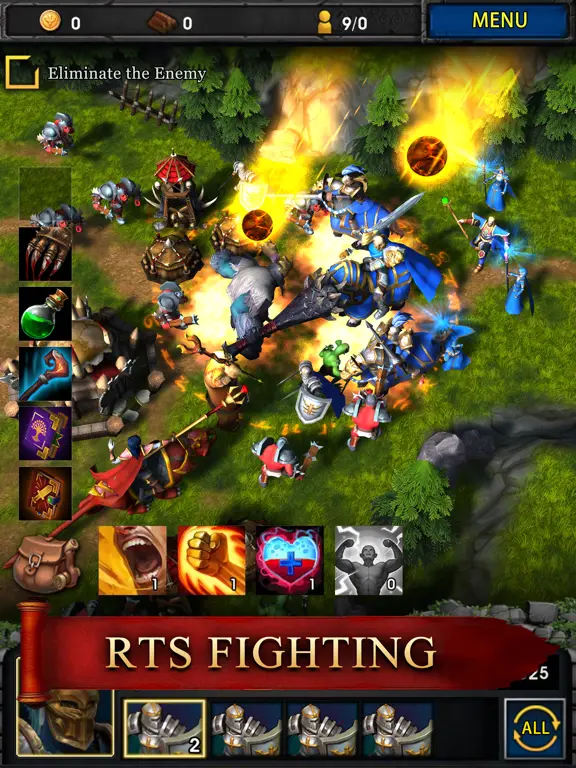
- Upper left: the objective is ‘Eliminate the Enemy’.
- Above the red banner: ability icons are visible beneath the battlefield.
- Bottom row: unit-selection cards and the ‘ALL’ control provide a starting point for inspecting selection.
Decision table
| Control | Use it when | Stop if |
|---|---|---|
| Hold | Formation is safe and the enemy must commit | A priority target becomes reachable |
| Split | Two groups can complete separate jobs | Either group loses support or purpose |
| Flank | Enemy attention and facing are committed | The route exposes your damage heroes |
| Kite | Trading space protects a valuable unit | Retreat leads into a second threat |
Frequently asked questions
Should I move troops immediately?
Not automatically. First read targets and routes; move when it creates a clear advantage or prevents a clear threat.
What is the risk of splitting troops?
A split can isolate damage or support, create two weak fronts, or make regrouping impossible.
When should I use hero skills?
Use them when their target, timing, and follow-up are clear rather than simply when the button becomes available.
Official sources and scope
This guide is based on current official product information and product-team review. Exact values, event rules, and unlock requirements can change; verify time-sensitive details in the live game.
Continue in game
Play Alliance at War
Use the guide as a decision framework, then confirm current values and rules in the live game.