
Direct answer
What should you do?
Choose a guardian to solve the formation's most important problem. First identify whether the team lacks pressure, control, protection, or a way to change the battle's tempo; then test the guardian against that specific need.
Official video
See this decision in the game
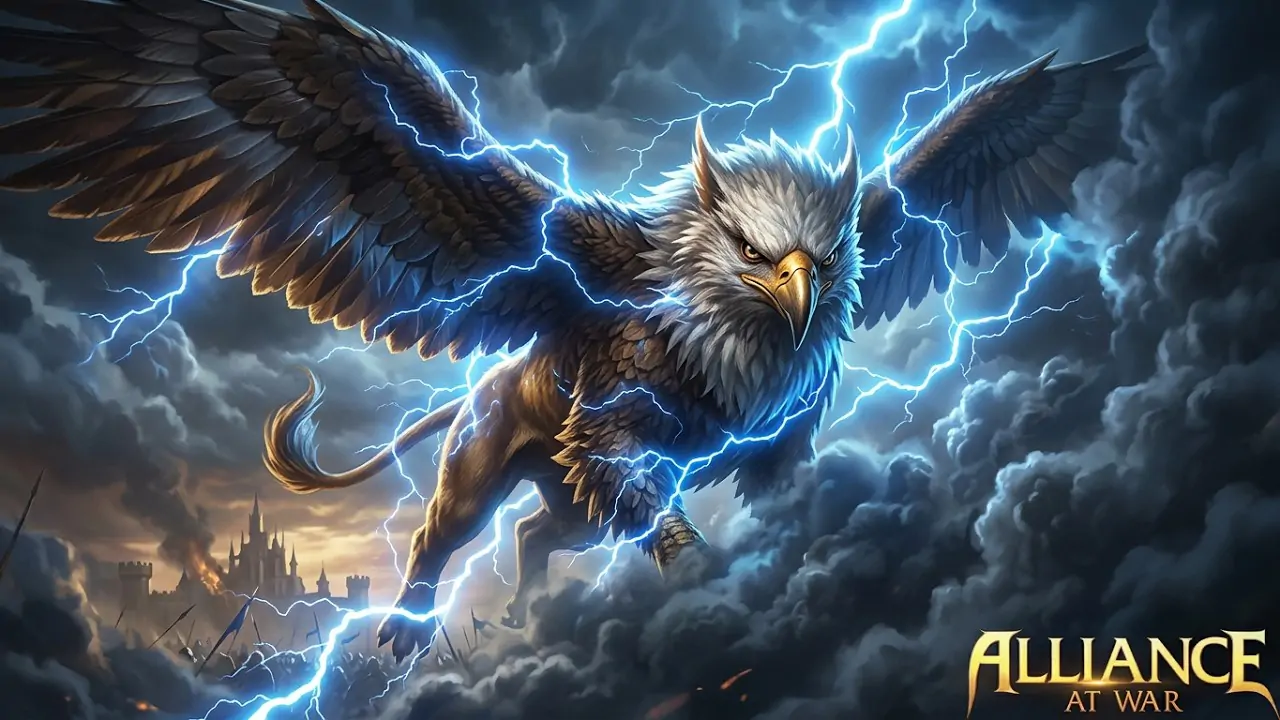 15 seconds
Alliance at War Storm Griffin Video
Watch the official Storm Griffin arrival clip and use it as a starting point for evaluating Guardian roles in an Alliance at War formation.
Watch the official video →Key takeaways
- A guardian should complement hero and troop roles.
- Test against one defined problem instead of asking for a universal best guardian.
- Re-evaluate when the objective changes from survival to speed, control, or target access.
1. Start with the formation problem
The official roster includes guardians such as Phoenix, Fire Dragon, Cerberus, Cursed Spirit, Pegasus, and Giant Ape. Their value depends on the current release and the formation around them, so begin with the battle signal rather than a fixed tier list.
If the front line fails, look for a guardian contribution that improves control or durability. If the team survives but cannot create a decisive moment, look for pressure or tempo. Always verify current skill text in game.
- Name the problem in one sentence.
- Read the current guardian skill and upgrade preview.
- Choose a test where that problem happens consistently.
2. Match guardian timing to hero timing
A strong effect can still be wasted if it arrives before your damage is ready or after the formation has collapsed. Watch when the guardian acts relative to hero skills and troop movement.
The best pairing often creates a sequence: hold pressure, control a target, then commit damage. Manual troop control can help preserve this sequence by preventing premature contact or opening a flank at the right moment.
- Avoid stacking every effect at the opening if the opponent can simply recover.
- Protect the heroes that must follow the guardian's contribution.
- Use repeated battles to confirm the timing is reliable.
3. Build a small guardian rotation
One guardian can support general progression, while a second answers a different problem such as survival, speed, or control. This is usually more efficient than upgrading every option evenly.
Document which guardian you use for campaign, defense, or alliance objectives. A short rotation makes preparation faster and reduces last-minute mistakes.
- Keep one default choice for familiar content.
- Develop a second choice with a clearly different purpose.
- Review the rotation after a major balance or skill update.
Try this decision
A practical exercise
You can invest in another guardian, but your formation already has a clear weakness. Compare the available guardian descriptions against that weakness.
- Name the missing function: damage, durability, control or another need shown by the encounter.
- Read each available guardian’s current effects and activation conditions in the client.
- Choose one candidate whose conditions your formation can actually meet before committing scarce materials.
Check the result: Explain which effect addresses the problem. If you cannot connect the effect to an observed need, delay the investment.
Illustrative scenario added September 9, 2026. This is a planning exercise, not a recorded test result or a new live-game rule. The version scope above still applies.
Decision table
| Battle signal | Guardian contribution to seek | Test method |
|---|---|---|
| Front line breaks early | Control or protection | Compare survival through the first enemy skill cycle |
| Targets nearly escape | Pressure or finishing tempo | Measure whether the same target is removed sooner |
| Skills do not align | Timing or control window | Watch the order of guardian and hero activations |
| One choice works everywhere | Verify rather than assume | Test a different objective with the same formation |
Frequently asked questions
What is the best guardian in Alliance at War?
There is no reliable universal answer. The best choice depends on current skill values, your hero formation, troop position, and the objective.
Should I upgrade every guardian?
Most players benefit from developing a small rotation first so each investment supports a clear use case.
Where can I verify guardian skills?
Use the current in-game guardian screen and release information, because effects and values may change.
Official sources and scope
This guide is based on current official product information and product-team review. Exact values, event rules, and unlock requirements can change; verify time-sensitive details in the live game.
Continue in game
Play Alliance at War
Use the guide as a decision framework, then confirm current values and rules in the live game.